Profile
If you click on the 3 dashes (top left) you will end up on your profile. An overview of completed work orders can be found here.
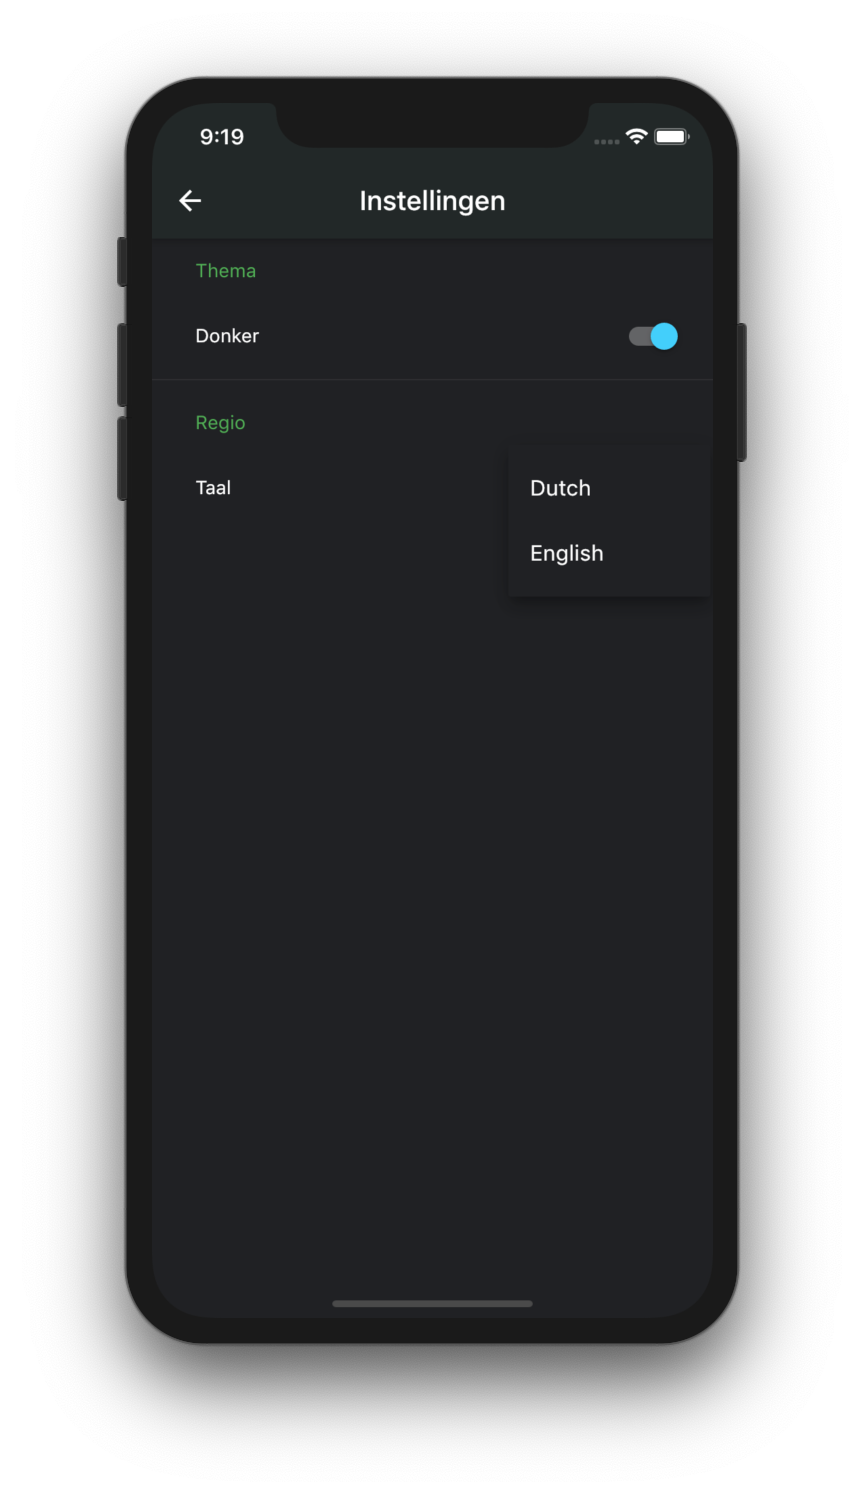
At settings you can adjust the language and color of the application.
When you are logged into the app, you will see an overview of all work orders on the start screen.
You can create work orders in advance on the web application, by creating an item in the daily schedule.
Or you can choose to create a work order in the app itself by clicking the plus at the bottom right.
If you click on the 3 dashes (top left) you will end up on your profile. An overview of completed work orders can be found here.
At settings you can adjust the language and color of the application.
When you click on a work order you will find an info page: Which project? When planned: date, start and end time? Who should work? Which equipment do you need? This is all in the information overview.
By clicking on the address, Google Maps (or another navigation app) opens and you can navigate to the workshop via the GPS function.
If you scroll down in the overview you can find the contact persons for this project, you can call this person directly from here.
Also important documents and other information that employees can consult in Wappy can be found here.
To start time registration , press the green button 'start work' at the bottom, the hour registration starts. You click this button again at the end of the hour registration. You then complete this registration with colleagues who have cooperated, taken breaks and possibly some comments. Have you forgotten to start the hour registration? Don't panic, this can also be done manually.
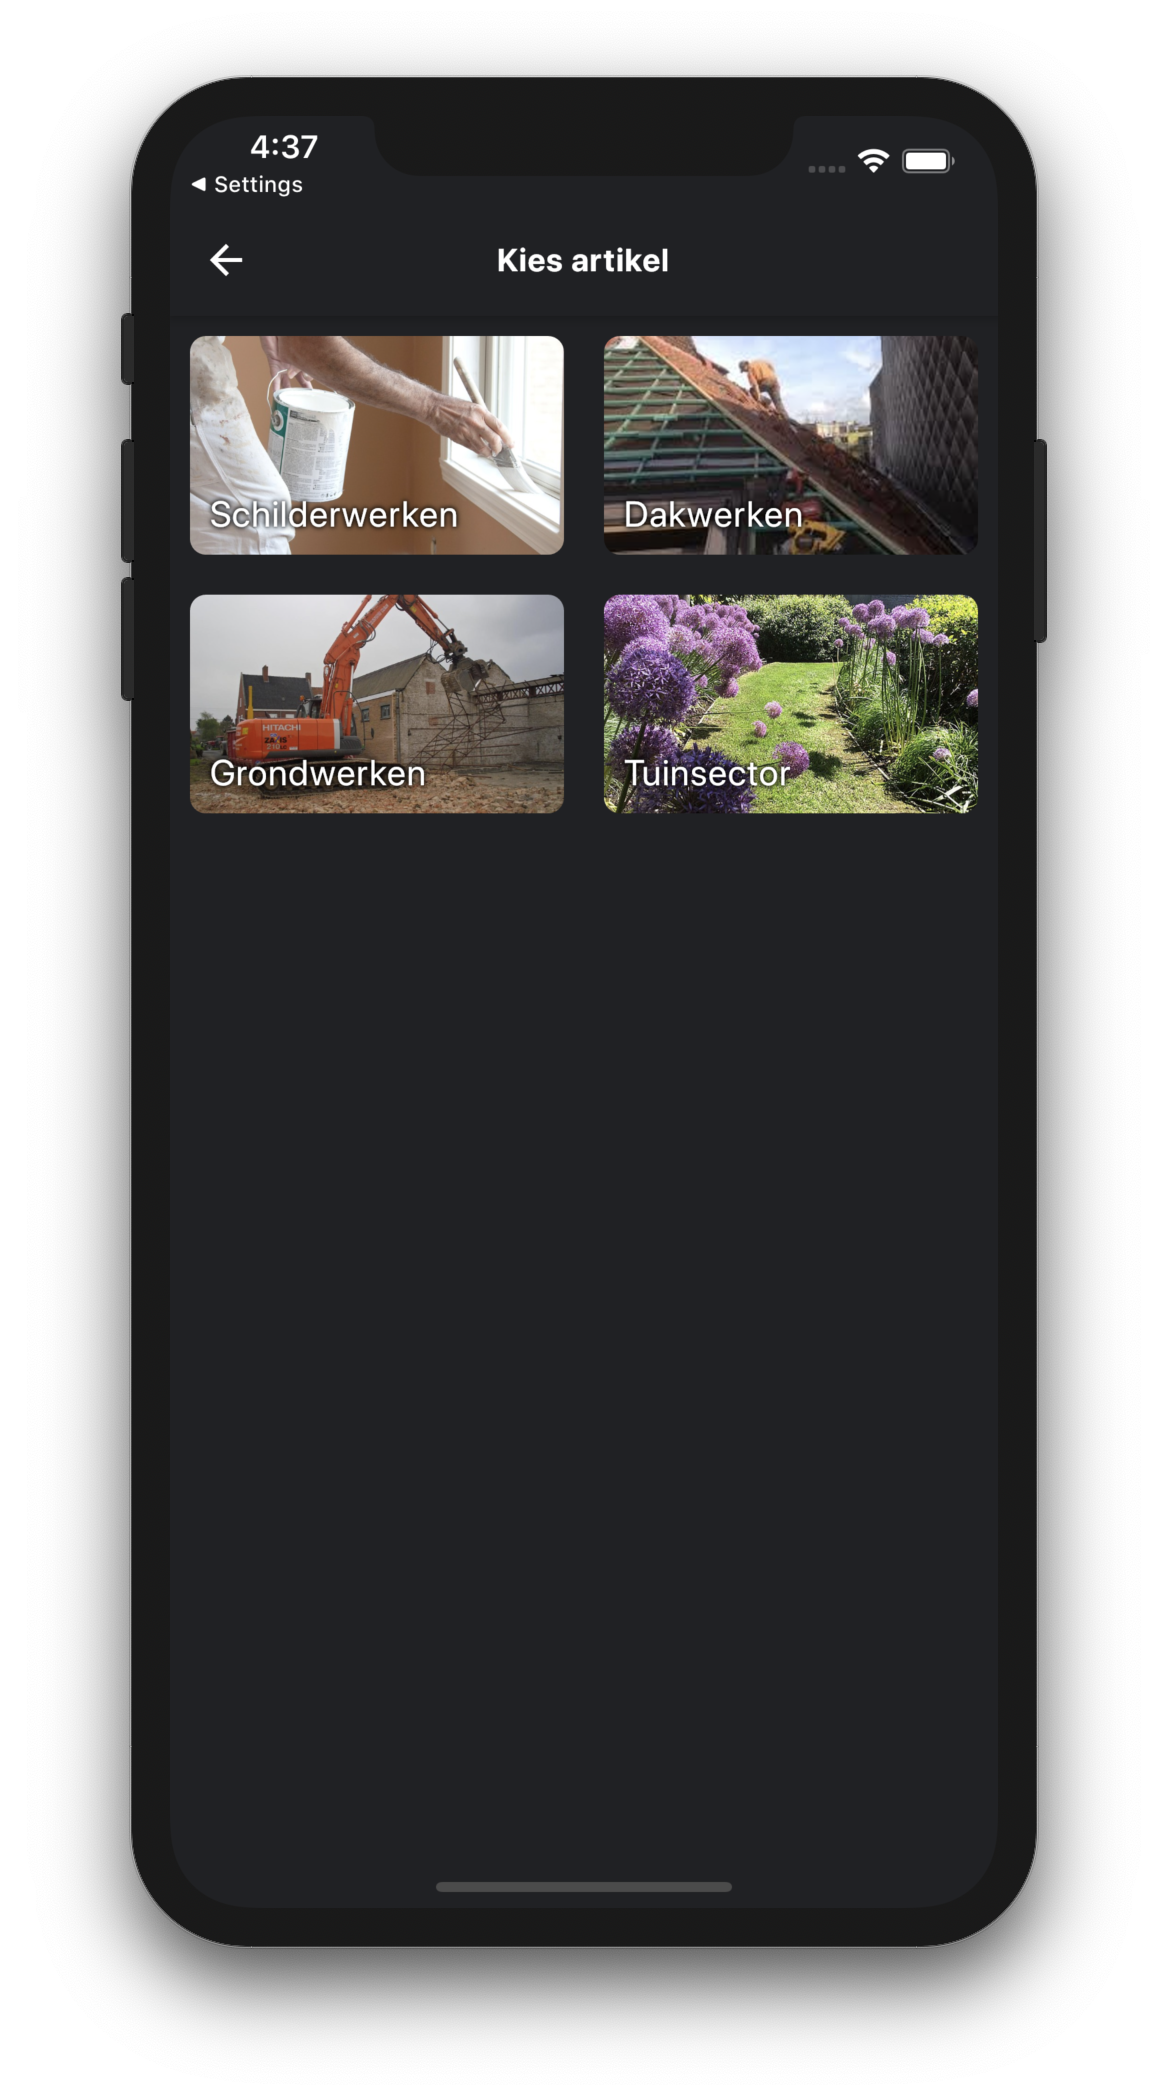
You can work in 3 ways to add articles and material. The items you can choose from must of course be linked to the web version of Wappy.
To make the best use of the last two options, please contact our team for more information.
In this tab you can add additional information to the work order.
Remark for client: this comment will be visible on the work order PDF that is created in the web version after completing this work order.
Internal remark: this comment is previously used for internal communication and will only be visible to those responsible for editing the work order in the web version of Wappy.
Pictures: Adding photos is often used to clarify performance.
Distances traveled: this information can be generated automatically or manually.
Add: the employee fills in the distances and mobility type (driver, passenger, driver without passengers) himself.
Make a guess: this is where the distance is automatically calculated from the office to the yard. The mobility type for this employee is registered in advance in the web version.
Make a final check on the registration.
Is everything all right? Have the work order signed by the 'signature' function.
By clicking on the blue arrow at the bottom you complete the work order, the information can now be found in the web version of Wappy and / or your administration package.
Consult our documentation for more information!
Try Wappy 1 month for free and get to know an easier way to register work orders.
Update your browser to view this website correctly. Update my browser now


